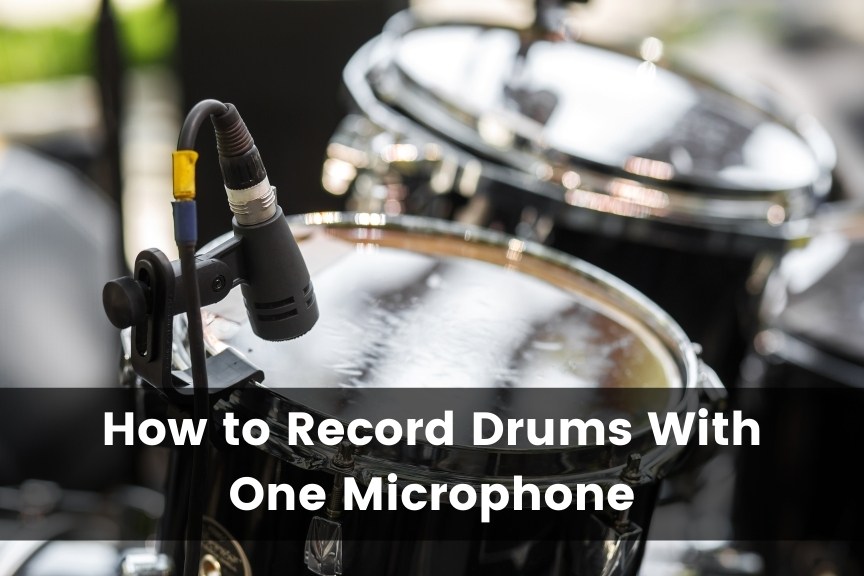
How To Record Drums With One Microphone: The Complete Guide
Drumming is a favorite pastime for many people, ranging from serious musicians to at-home hobbyists. The more your passion for drumming increases, the more likely you are to want to record your music. But how do you record drums with just one mic?
Here’s how you can record drums with one mic in 8 simple steps:
- Choose a high-quality microphone.
- Assess the location of your drums before choosing it.
- Get your drums ready for recording.
- Pan your drums correctly.
- Place the microphone in the right area in the room.
- Angle the microphone optimally to catch the sound.
While these are all important considerations to factor in when attempting to record drums with one mic, you must dive deeper into each step for the best results. Read on to learn more about how you can record drums without using numerous microphones.
1. Choose a High-Quality Microphone
One of the first things you will want to do if you are recording your drums with just one microphone is to get one of the best microphones you can buy.
While having as many microphones as you can to catch the sound as well and as much as possible is ideal, you might not have the budget to get multiple mics like you want. Instead of spending a fortune on numerous microphones, you can focus your resources on buying one high-quality microphone to record your drums.
One tried and true favorite of musicians for many years is the Shure SM57 microphone, thanks to its versatility and performance at a reasonable price (available on Amazon). It’s also a stylish microphone that will look great in your music studio or home.
Choosing a good microphone will optimize your sound quality, which is especially important when recording your drums with a single mic. When using one mic you have to optimize for quality of quantity, to make up as much of the difference as possible.
Some things that you’ll want to consider when you are using just one microphone include:
- Buy a microphone that you can trust as your sole option. You will get better recording results if you have a decent mic, especially if it’s your only one.
- Take proper care of your mic to get long-lasting results from it. Make sure to dust it regularly and keep it clean for better sound.
- Replace the microphone if you notice any issues with sound when you listen to your recordings. Keep an eye on performance and get a new mic if yours is no longer working well.
Following the steps above, you should be in good shape to record your drums using just one mic. But there are other important things to consider too.
2. Asses the Location of Your Drums Before Choosing It
Before you get your recording set-up situated, you want to ensure your drums are in their ideal location. The acoustics in your room is one of the most crucial factors when performing any instrument, and drums are no exception.
There are many things to consider when choosing the right spot for your drums in the recording studio or your home. Some of the most critical factors include:
- You should always have ample space around the drums. Don’t have your drum set too close to the wall. If you do, you’ll likely be plagued by bass loading and overall worse sound quality.Also, if you do not have adequate space to express yourself and play the drums as effectively as possible, it won’t sound good on your one mic either.
- Pick a room with higher ceilings if possible. You want to record in a room with ample space for the sound to carry, so you are recording the very best quality you can.
- Try to have the drums in the center of the room. For the same reason that you don’t want to be around low ceilings, you also don’t want to be too close to the walls. Make sure that you have enough room for the sound to carry to the mic without bouncing off walls, an excellent way to ensure this is by staying away from corners or walls of the room.
When setting up your recording studio or another area of your house, it is always a good idea to put some time and effort into choosing the correct location. The reasons above are great examples of how picking the right place can impact the sound quality of your drums.
Put your drums in the ideal place. It will give you a better opportunity to record your drums on a single microphone, as long as you consider what factors in your recording space will allow the sound to carry better from your drums to the mic.
Put Your Drums in a Studio With Great Acoustics
Having the proper acoustics in your recording studio or garage for your drums is something you want to consider whenever you are recording. It is crucial to have good acoustics when drumming, especially if you are recording on just one mic.
It’s so much easier to record effectively with a single microphone if you put the time and effort into making sure that the room you are using can facilitate good sound.
This video from Digital Drumming shows what difference acoustics can make when you are recording drums:
Here are a few things that you will want to think about when soundproofing your room:
- Sound escapes through cracks and gaps. If you are recording your drums in a room with a lot of doors and windows, you will want to seal them off to improve the sound quality.
- You want padded walls and ceilings. Choose an excellent acoustic panel and apply it to your walls and ceiling for optimal sound.
- Remember to soundproof the floor. The material the floor is built from could have a significant effect on your sound quality. Make sure that whatever your flooring is made of doesn’t interfere with the sound coming from your drums and traveling to your one mic.
3. Get Your Drums Ready for Recording
The next thing you will want to do before recording is to make sure that your drums are ready to be recorded. One of the most important aspects of getting your drums ready to record is checking to see if they are tuned correctly.
Just like you wouldn’t want to record a guitar playing if the strings were too loose, you do not wish to record your drums if they aren’t tuned right.
When using just one microphone, you must have strong enough drums to carry their sound to the one mic recording them. A fantastic way to do this is to ensure you are getting optimal sound out of your drums by tuning them.
You might ask, how do I get my drums ready for recording? The good news is, with just a few simple steps, you will be able to have your drums in their best shape for recording.
Here is an excellent video from Sweetwater on how you can tune your drums quickly:
As you can see, with just a little effort, you can get peak performance from your drums. Once your drums are tuned up and sound their best, you can confidently move on to the next step.
4. Pan Your Drums Correctly
Another essential factor to consider is that your drums are set up in an optimal position. This process is called panning the drums. Panning drums involves optimizing the angle so that sound carries to where you want it to go.
You will want to pan your drums with the utmost care when you are recording with one microphone. There are a few considerations when you are doing this. Some of the most important things to take note of when you are panning drums are:
- Place your snares and kicks in the proper position. It would help if you had your kicks and snares at the forefront of your set-up to better carry the sound to the microphone.
- Cymbals should be tilted a bit. You should angle your cymbals a bit so that the sound travels more pleasantly from your drum set to the mic.
- Angle the toms. You will want to find the right angle for your toms to get the sound to reach the microphone. There are a lot of different theories about the perfect angle for a tom, and depending on the space you are playing in, you may need to play around with panning them the way you see as the best fit.
Panning Your Drums Correctly Improves Sound
The importance of panning your drums correctly is that you influence where you want the sound to travel. If you want the sound to reach your audience, or in this case, a single microphone, you will pan your drums differently than if you were more concerned about hearing all the drums yourself.
When you want the drums to reach the mic in their most efficient path possible, you will want to position them in a way where the sound is balanced and showcases all the different drums in your set.
If you want the optimal sound quality to be recorded by one microphone, you will want to pan your drums reaching the mic sound as crisp as possible. Music Mix has a few easy tips on this.
5. Place the Microphone in the Right Location in the Room
Choosing an ideal location in your room for the microphone is one of the most important things to decide on when using a single mic to record.
Because drums are usually recorded with numerous microphones, often one per drum, it becomes even more critical to maximize the sound quality when you are just using one mic. Optimizing the sound means picking the perfect place in your room to place the microphone so that you get optimal sound.
Here are a few things that you’ll want to keep in mind when choosing the right location in your room:
- Do not have the microphone too far away. You won’t want to have the microphone across the room while using just one mic. The further your mic is from your drum set, the harder it will be to capture the perfect sound.
- Choose a location to record that is not blocked by furniture or people. You will want a direct path for your sound to travel from the drums to your one mic. Improving the route for the sound to carry means you should not place it behind large furniture or a large crowd of people.
- Do not have the microphone too close. Because you are relying on a single microphone to capture the sound of various drums, you want to ensure that you pick up all the individual components. The spacing of your drum set means you won’t want the microphone too close where it is picking up on some drums and not others.
Once you find the right place, you are on your way to getting better sound recorded on your single microphone. Be sure to factor in the distance and location to have the best conditions to capture your drum set’s sound.
6. Angle the Microphone in an Optimal Position to Catch Sound
Choosing the right angle for your microphone will make a gigantic difference when you rely on a single mic to capture the sound. Drum sets are unlike other instruments where the sound comes off a singular device. They are made of numerous components such as:
- Toms
- Snares
- Cymbals
- Bass
Since you need to catch numerous components with one mic, you need to consider placing it in a position that allows you to do so. You can try different angles, but many experts agree that a 45-degree angle can best capture the sound from your drums on a single mic.
Angling your one mic at 45 degrees lets the sound naturally reach the mic from the various parts of the drum set. It helps provide a proper path so that sound waves from different locations in the set reach the microphone without drowning each other out in the process.
But the right angle for your microphone can depend on other factors as well. It is not necessarily an absolute that 45 degrees is the best angle for you and your drum set. Here are some very important things to think about when you are picking the best angle for your mic:
- The distance between your microphone and the drums. This space makes a huge difference in what angle you want to choose. If you are close to the drum set, you will need a more dramatic angle to capture the sound correctly.
- Whether your mic is on a stand or reaching down from the ceiling. You will need a different angle if your mic is on a shorter stand than hanging from overhead. Make sure you know your mic stand set up before you angle your mic so that it faces the drums optimally.
- How you have your drums set up affects the angle. Everyone spaces their drums differently; some have their hi-hats raised more than others. The spacing of the drum pieces will make a difference when you choose the ideal angle for your mic to capture the correct sound.
Note that a 45-degree setup for your mic and drums doesn’t necessarily mean that the mic itself will be angled on a stand. In fact, a more common application of this is to have your entire drum set within a certain distance from the mic, with the both ends of the drum set maintaining the 45-degree angle from a mic hanging at the center.
Try Suspending Your Microphone Overhead
If you want optimal sound from a single mic when recording drums, you may want to try suspending your mic from overhead.
When you put the mic above you, you get a more organic sound from the drums to your mic. This difference in acoustics is due to a few reasons, including the following:
- You have more options than you do with a stand. This is because you can position the mic anywhere you want overhead. This flexibility allows you to put the mic in your personal space, giving the listener a similar sound to what you have sitting near your drum set.
- You get excellent acoustics when you place it a few feet from the drum. An overhead mic up to 10 feet (3 meters) from the drums gives you an incredible sound quality you won’t get from a floor stand. This difference in sound quality is because you can adjust the heights to levels you can’t get from traditional stands and encourage more even sound.
Suspending your single microphone is an effective alternative to using multiple mics when recording drums. You can play with different positions and angles to give your listeners a more well-rounded sound than you can with a single stand.
Final Thoughts
While some recording lovers might think that one mic isn’t enough, after reading this article, we hope you’ve found it a viable option. Not only can you record your drums on one mic, but you can do it with some incredible results.
When using a single mic to record your drums, remember that a few things can go a long way to improving your sound. Some important considerations include:
- Use a good mic.
- Pay attention to acoustics.
- Place your mic in an optimal position.
Follow these steps, and you can record with one mic.