How To Record Drums in GarageBand
You may be familiar with recording in a home or professional studio, but do you often feel like you’ve hit a wall when it comes to capturing great drum sounds at home? Maybe you don’t have the space or budget for a dedicated drum room, or perhaps your home studio is a small bedroom with little-to-no acoustic treatment. In that case, recording the perfect drum sounds is easier said than done.
You can record drums in GarageBand by running the drummer track, loading your preferred loop, creating a beat around it, and editing the output as you like. Recording real drums on GarageBand requires an audio interface and mic connected to the setup.
In this article, I will walk you through the process of creating a new drum project in GarageBand with the pre-installed drum loops. From there, I’ll share how to set up different audio inputs within GarageBand so that you can record with real drums too.
After reading this article, you’ll understand exactly how to record drums in Garageband.
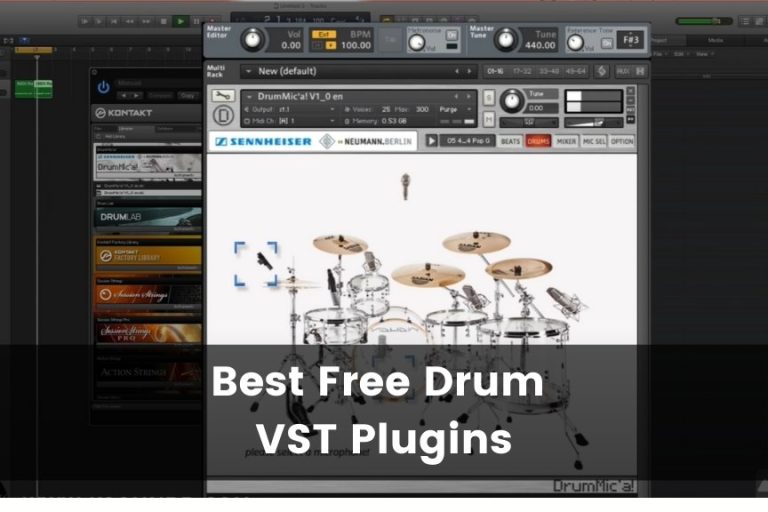
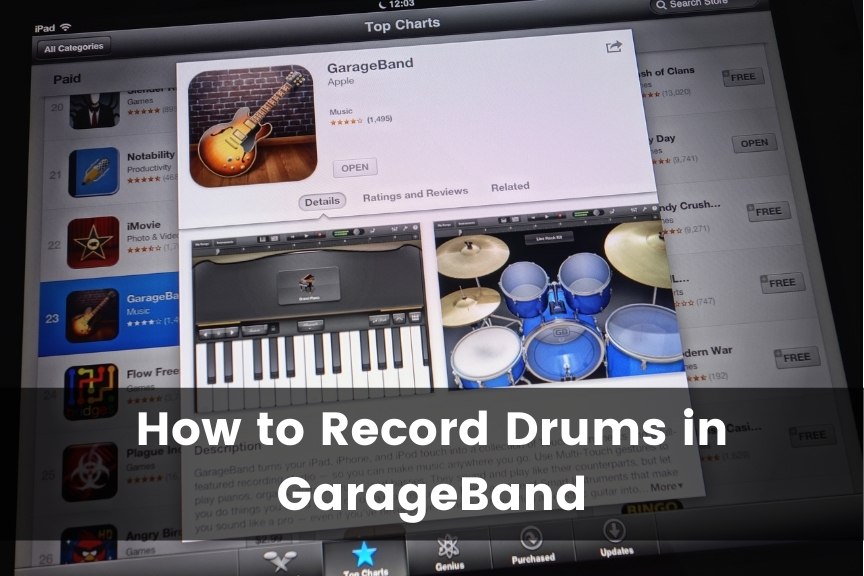
1. Download GarageBand’s Available Sounds
While GarageBand comes with a ton of pre-loaded sounds, you can also browse through the Sound Library to find something that inspires you. GarageBand is a free music creation software available on all Apple devices. So, go ahead and download it through this link if you haven’t already done so.
Go to GarageBand > Sound Library > Download All Available Sounds.
Here, you will find all the available sounds and drummers you can add to your recording. GarageBand comes with over 30 virtual drummers.
Virtual instruments are usually software plugins that are designed to mimic traditional instruments like piano, cello, or electric guitar. As such, GarageBand Drummers are virtual drums designed to mimic real drums.
2. Set Up the Drummer Track
GarageBand features an easy-to-understand user interface with a slight learning curve for beginners. Once you’re past that, creating, recording, and producing professional-sounding tracks becomes easier than ever before.
To set up your workspace:
- Locate the plus button (the add track icon) at the top left of the interface. GarageBand provides three options for your new track; Software Instrument, Audio, and Drummer.
- Select Drummer from the options and create your new track. GarageBand automatically opens the library and editor.
- Choose your preferred virtual Drummer, presets, and drum kit from the available options in the library. You can try different kits that go with your preferred genre (there are seven musical genres, including Rock, Electronic, HipHop, Percussion, R&B, Songwriter, and Alternative).
GarageBand opens a yellow eight or sixteen-bar drummer region and loads up the default virtual drummer (Kyle), which you can change in the next step. If you want loops in your track, I recommend downloading some free loops from sites like Macloop. Some sites contain paid loops.
Macloop provides access to a vast array of assets like double bass loops, metal loops, hip-hop loops, rock loops, and so much more. When choosing a genre and Drummer for your track, be sure to read the short description about the Drummer and what style they play. This will give you a sense of what your final output will sound like.
3. Listen to Your Kit and Beat Presets
GarageBand comes packed with tons of amazing drum samples, patterns, and kits, so you can easily record and mix your own beats. These are great for beginners because the presets come with a number of different instruments and sounds, allowing you to mix and match different elements to create your own unique beats. You can also use these presets as inspiration for your own beats.
Once you’ve selected your virtual Drummer, see if you like how it sounds. Each virtual Drummer has about eight beat presets but automatically goes to its default kit when you load it onto your workspace. Hit the space bar and listen to how it all sounds. If you don’t like how the drummer sounds, select a different drummer and use a new kit from the sound library to change how the Drummer sounds.
At this point, you also want to listen to the drum pattern. Listen closely to the beats and their different arrangements. If you don’t like what you hear, play around with the Beat Presets, which choose how the drum pattern sounds.
Remember, each Drummer has their own style. For instance, Kyle plays the drum beat we get in pretty much every pop rock song. Maurice plays in the boom-bap drummer style, adding a 90s flavor to your tracks.
4. Edit Your Track
Once you’re satisfied with your Drummer’s sound and pattern, it’s time to make them sound a little bit more professional. GarageBand allows you to edit the existing patterns to create something even more unique with the Smart Controls feature and the Drummer Editor. You can change the volume levels for each track and their pan settings. You can also change the tempo of each track to make it sound more professional.
Smart Controls
Smart Controls allows you to edit your track with ease. This little feature provides a quick view into the track that allows you to modify small but very important details in your track. You can set and modify the track’s parameters, edit plugins, EQ, tone, distortion, echo, reverb–you name it.
To open Smart Controls,
- Locate the Smart Controls button in the control bar.
- Go to View > Show Smart Controls.
- Or, use the shortcut by pressing B with your drummer track selected.
With Smart Controls open, use the knobs displayed on the interface to adjust your track’s sounds. The first settings you might want to play around with are the volume settings, which can be set individually for each drum. Lower the volume of the kick if it’s drowning the other instruments, or turn the hi-hats off completely if its collision with the cymbals doesn’t produce the outcome you want.
Smart Controls also allows you to set the EQ for your track. Simply navigate next to the Controls tab and select EQ. As you can see, working with the Smart Controls feature is as easy as it can get. Everything control displayed on the screen is intuitive, just like a real amp or audio interface.
But, you know what’s even better? Editing your tracks by moving the yellow ball in the X/Y Pad.
Adjust the X/Y Pad
The X/Y pad offers a much easier solution to edit your track without all the knobs and switches of the Smart Controls. A large, yellow ball appears somewhere in the middle of the X/Y pad. Moving the ball around the X and Y axes significantly alters the Drummer’s output.
Dragging the ball from left to right (the X-axis) turns the drum pattern from Simple to Complex. On the other hand, dragging the ball from top to bottom converts the drum pattern from Loud to Soft. As you may have noticed, there’s no “sweet spot” for the X/Y editor; just some random adjustments to find the right combination for your track.
One key point to remember is that the X/Y editor won’t change the Drummer’s purpose. If you want to change the style of the song, I suggest switching to a new drummer. Adjusting the editor will only change how the Drummer sounds.
5. Convert Drummer into MIDI Track for Finer Control
Converting your drum tracks into MIDI will give you much finer control over the sound of your drums. This will give you more flexibility when it comes to mixing, as you can now adjust the volume of each instrument individually and set other parameters as you like.
Converting your drums into MIDI will also give you the flexibility to use different plugins and the rare opportunity to change your drums into a completely different instrument. For example, if you’re using kicks, claps, and hi-hats in your track, converting it into a MIDI track allows you to add percussion and effects like reverb to give your beats a complete sound makeover.
Converting a Drummer track into a MIDI track is quite easy. All you need to do is create a copy of the existing Drummer Track into a software instrument track region. Here’s how to do it:
- Locate the + icon on your workspace and create a new track.
- Select Software Instrument.
- Locate the exact drum kit on your Drummer track and load it onto your workspace. You can find the drum kit in the library.
- With the Software Instrument track loaded, select the Drummer region and copy (⌘CMD + C) the contents.
- Select the new Software Instrument track and paste the Drummer track (⌘CMD + V)
Converting your Drummer track into a MIDI track pulls up the piano roll, where you have more refined controls over each individual beat. You can modify each individual beat, add other instruments (e.g., crash and cymbals), or delete them altogether.
Recording with virtual instruments is a rather simple way to get some real-sounding kits for your track, provided that you mix and edit your track well. However, nothing beats real drums. Real drums are slightly harder to work with when recording with GarageBand. There are several settings, equipment setups, and considerations to take into account, but the results are worth it.
Recording With Real Drums
Drums have a visceral, primal quality that’s hard to capture with software instruments alone. There’s something about the combination of all those fast, syncopated rhythms, dynamic range, and booming low end that just isn’t easy to reproduce with virtual instruments.
GarageBand comes with a built-in library of instruments and audio samples that you can use to create your own songs. You can also record your own audio or import MIDI files to use GarageBand’s instruments to create a song from scratch.
Here are a few things to keep in mind when recording with real drums in GarageBand:
1. Before You Start Recording
I’ve come to the conclusion that GarageBand comes with several pre-recorded drum tracks that you can use to practice your technique or as starting points for creating new songs. Although these features are great for someone without real gear or professional recording space, they’re still far off from the real thing.
If you want to record your own drums with GarageBand, you’ll need to connect an external mic (or multiple external mics) or some other recording device to your Mac.
Next, you’ll need to set up your gear. You definitely don’t need a professional kit to get a great sound, but having a few key pieces can help you achieve a better sound than if you were to record with sub-par gear.
2. Find a Good Place for You Recording
You want your recording space to be as quiet as possible. You don’t want there to be any outside noises or sounds that can be heard in the recording.
Turn off the fans or other appliances running in the background. Close the windows if it’s a noisy outside environment. If you have a garage or basement, that’s a good place to set up your recording studios. If you have a friend with a quiet recording space, that’s also a good option.
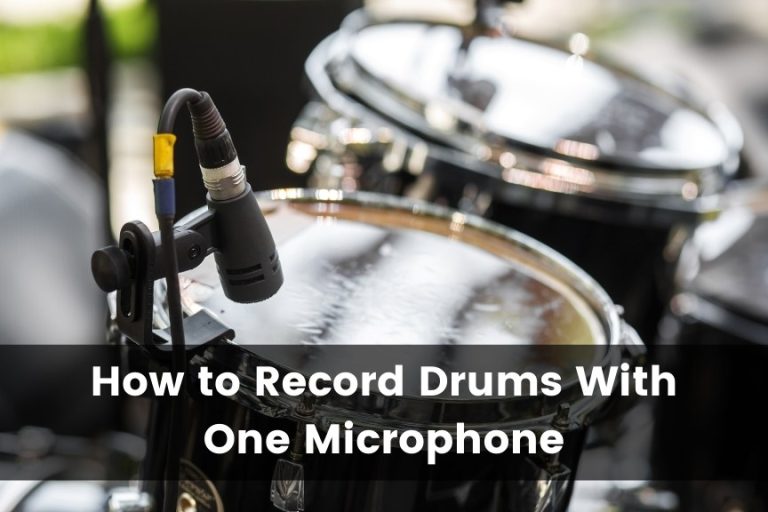
3. Set Up Your Mics Around the Drums
There are many mic positions you can use to record your drums. It all depends on the kind of sound you’re going for and what kind of drums you’re recording.
Here are a few mic positions you can try out:
- Overhead. This is the classic mic position. You have one or two overhead mics, one for the high tom and snare drum and one for the mid tom and floor tom. These mics are hung above the drum kit and aimed at the drums themselves.
- Rim. You may want to aim the mic at the snare drum’s rim. This position will give the drums a bit of a brighter sound.
- Kick. You want the kickdrum mic close and pointing to the edge of the resonator head (the bottom drumhead). This will give the bass and kick an aggressive sound.
The rule of thumb is to point your mics directly toward the drums, hi-hats, and cymbals you choose to have a mic for. Keep the mic as close as possible, but not too close.
Read more about mic placement for your drums.
4. Open GarageBand and Configure Your Track Settings
Open a new project and select audio since you’re going to record your drums as an audio track with microphones. To do this;
- Locate the + icon and create a new project.
- Select Audio (to record using a microphone or a line input).
- Allow GarageBand to use your audio interface.
The video below provides a much more detailed guide on how to set up your gear and record live drums in GarageBand:
As each of the microphones goes into its own input in the interface, you want to create a new track for each microphone and correspond each track to its respective line input on the interface.
- Go to Track > New Track.
- Select the mixer button and bring up the Recording settings.
- In the Recording settings, select the input that corresponds with your mic input on the audio interface. For instance, if your kick drum goes into line 1 input of the interface, name your first track “kick” and set it to the line 1 input in the recording settings.
- Do this for all your channels.
At this point, GarageBand will only record the first track. You can get around this by enabling Record on all the tracks.
- Simply right-click Track.
- Select Configure Track Header.
- Select Record Enable.
- Slide the playhead to select where you want your recording to start.
GarageBand will only record multiple tracks simultaneously when the Record Enable button is turned on on the tracks you want to record.
5. Start the Metronome and Play
Start the metronome and play a trial. This will give you a good idea of how your drums sound with the metronome. Now that you have an idea of how the drums sound with the metronome, you can start the real work.
Now that you’ve finished the drum recording, it’s time to start editing. Depending on how good you are at drumming, you might want to do a little bit of editing anyway. Editing drums is a lot more than just editing the volume of each track. GarageBand offers a variety of tools and settings to let you achieve the perfect drum track (the Smart Controls and X/Y Editor features).
For the most part, you’ll want to start with the kick drum to get a feel of the beat. As you edit your track, look for any imperfections in each track. Perfect one track after the other, using the mute feature to silence the remaining tracks in the mix.
Conclusion
GarageBand is one of the most popular third-party programs for mac users because it’s easy to use. However, recording drums in GarageBand has a bit of a learning curve, but once you get past the initial challenges, creating your own beats is actually much easier than you might think. Don’t forget to practice every once in a while to get professional-sounding results in no time.