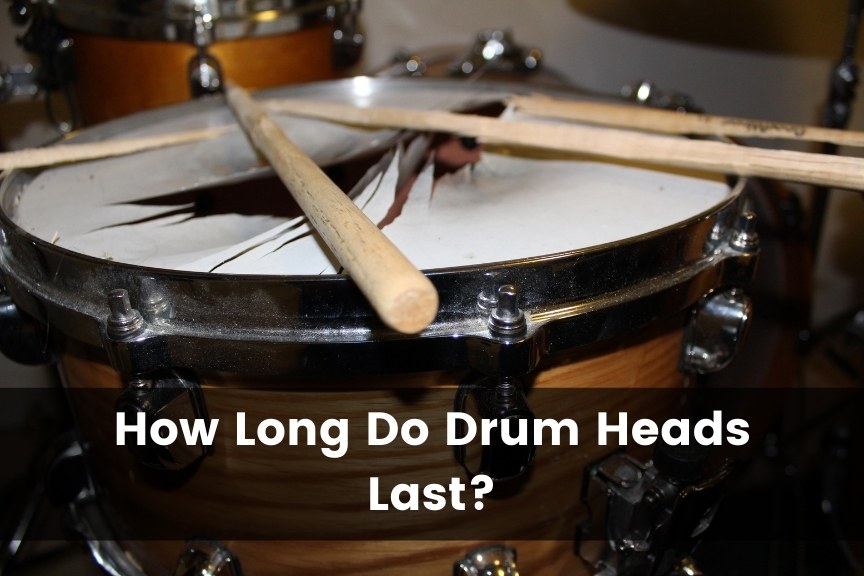
How Long Do Drum Heads Last?
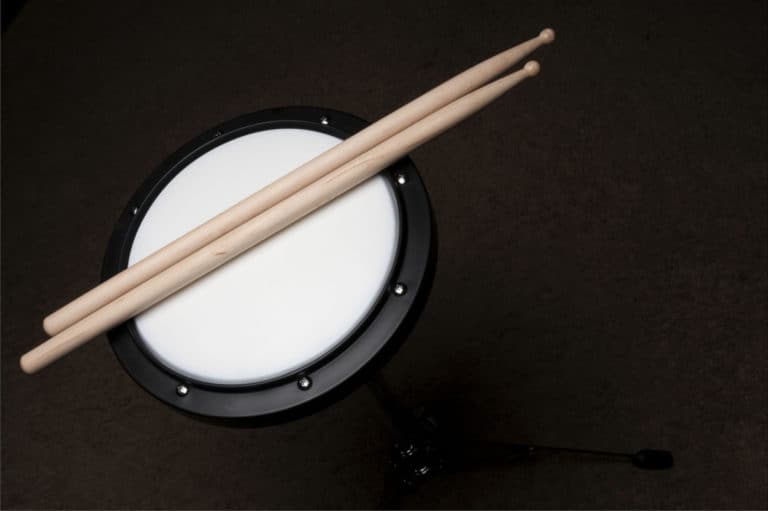
Drum heads are the thin material covering the top and bottom of a drum. These components are crucial to every drum, as they help produce sound when you strike a drum. But drum heads don’t last forever.
Drum heads typically last for up to six months. However, drummers that play every day may need to replace their drum heads every two to three months. Additionally, aggressive playing styles, firmer drum sticks, humid environments, and sunlight exposure may reduce the lifespan of a drum head.
This guide will explore how often drummers should change drum heads and the factors that impact drum head lifespan. We’ll also explain how to change drum heads and safely store your drum set away when it’s not in use.
How Long Do Drum Heads Last?
Drum heads can last up to six months, so ideally, you should change your drum heads twice a year. Doing so ensures that your drums are always equipped with high-tension drum heads that can withstand repetitive impacts.
That said, you may need to change your drum heads more regularly if you play every day, store your drum set in a humid area, or play heavy metal music on your drums. Still, these are only a few factors impacting drum head lifespan.
Factors That Impact Drum Head Lifespan
When considering how often to change your drum heads, it’s an excellent idea to take a moment and consider the factors impacting drum head lifespan. Some of the most significant of these include the following:
Type of Drum Head
Acoustic drum sets feature drums that have two sides. Each of these sides is outfitted with a tight-fitting drum head. One side is designed to receive strikes (batter head), while the other is designed to reverberate with the compressed inside the drum (resonant head).
As you might expect, batter heads wear out far more quickly than resonant heads. That’s because they receive the brunt of the impact when players hit them. So generally, drummers will need to replace batter heads more often than resonant heads.
How Often You Play the Drums
The frequency of your drum playing is another factor that impacts drum head lifespan. The more often you play, the faster your drum heads develop indentation and slight warps. As such, drummers that practice their skills daily might need to change drum heads every two or three months.
Alternatively, drummers that only play occasionally (every week or so) may be able to get away with changing their drum heads every six months. That said, it’s crucial to remember that drum heads that are attached to drum shells naturally degrade over time, even if they’re not being played.
Your Preferred Playing Style
Not all drumming is alike. Some of it is somewhat slow and gentle, while other types are hard and fast. For example, a relaxed jazz drummer isn’t likely to strike their drums quite as hard or repetitively as an energetic heavy metal drummer.
These playing styles can shorten or extend drum head lifespan. More aggressive play styles will result in faster wear. Over time, this wear can translate into inferior sound quality and punctured heads.
So, consider the type of music you enjoy playing on the drums. If you tend to keep things slow and soft, you’ll likely be able to enjoy longer drum head lifespans. But if you go hard, you’ll probably invest in replacement drum heads far sooner and more regularly.
Drumstick Type and Hardness
While wooden drumsticks are some of the most traditional tools drummers use, they’re not the only option. Drumsticks are available in various materials, including plastic and graphite. They also come in many styles, including brushes, mallets, and rods.
Your preferred drumming tool style and material partially determine the lifespan of your kit’s drum heads. For example, graphite drumsticks tend to be one of the hardest options and can produce indentations in the drum heads after only a few sessions.
Equally, large mallets (like those used to strike bass drums) produce more force than drumsticks, enabling them to generate more resonant tones. But even padded mallets can rip a hole in a drum head.
The gentlest options tend to be brushes and rods. That said, these too can wear down the surface of a drum head. Still, they take quite a lot longer to do so. For that reason, drummers that use brushes and rods more frequently than sticks or mallets may enjoy longer-lasting drum heads.
Humidity and Sunlight Exposure
If your drum set is in a humid and sunny room, there’s a good chance that it’s wooden shells, metal components, and polyester drum heads are in poor condition. That’s because high-moisture environments are notoriously bad for drums of all shapes and sizes.
When you add sunlight to the mix, you’re increasing the risk of your drums developing mold and UV damage. Not only do humidity and sunlight ruin brand-new drum heads, but they can also destroy your entire drum set.
To prevent this from happening to you, be sure to set up your kit in a humidity-controlled environment that isn’t exposed to sunlight. An air-conditioned room equipped with a humidifier and curtains should do the trick.
Initial Drum Head Quality
Cheap plastic drum heads are bound to wear out or break far faster than high-quality drum heads made of reinforced polyester or animal skin. So if you’re looking to prolong the lifespan of your drum heads, be sure to invest in top-rated options instead of buying bargain bin models.
When To Replace Drum Heads
There are several warning signs that your drum heads are worn out and need replacing.
Let’s delve a little more deeply into the following red flags to ensure you’re able to recognize the signs of a spent drum head.
When You Can Feel Indentations
Minor grooves and dips in the surface of your drum heads are some of the most significant indicators of worn drum heads. After all, these tiny indentations are signs that the surface of the drum head has weakened.
A weakened drum head won’t compress the air inside a drum as effectively as a brand-new drum head. As a result, the sound of your drums may deteriorate when using heads with indentations.
These impact marks can also become puncture points, as they’re weaker than the smooth surface surrounding them. If you’re not keen to accidentally smack or kick a hole in your drum, replace these drum heads as soon as possible.
When Sound Quality Is Noticeably Worse
Have you noticed that your drums don’t sound as good as they did a few months ago? If so, there’s a good chance that you’re playing on threadbare drum heads. Fortunately, improving the sound quality of your drum set may be as simple as replacing those old drum heads!
When It’s Been Several Months Since You’ve Changed Them
The average drum head only lasts about six months. If you can’t remember the last time you changed your drum heads, they’re likely overdue for a replacement. This notion not only applies to drum heads that have seen a lot of action but also ones that still look pristine.
Remember, drum heads are in a constant state of tension. Unless they’re still in their packaging, they’re stretched tightly against a drum shell. This tension can slowly pull the head’s material apart, resulting in worsened sound quality and a higher likelihood of puncturing.
So, even if you haven’t worn out your drum heads with active playing, you’ll want to change them after five or six months.
Before Recording Tracks
Now, you don’t necessarily need to replace your drum heads before sitting down to record your playing. But taking the time to do so can significantly improve recording quality. So, before you sit down to record a track, be sure to consider changing the drum heads.
How To Replace Drum Heads
If you’ve noticed that your drum heads are starting to form indentations or produce lackluster sound, it’s probably time to replace them. Fortunately, replacing drum heads is an easy five-step process.
If you want to replace your old drum heads with new ones, follow these steps:
1. Loosen the Tension Rods Along the Counter Hoop
The first thing you’ll need to do is loosen the tension rods holding the head against the drum shell. To do this, you can use your fingers or a drum key to twist the rods upward and away from the counter hoop.
You don’t need to remove the tension rods during this process. Instead, the goal is to loosen them to the point where you can easily pull the counter hoop off. Once you’ve done that, you can remove the old drum head.
2. Remove the Old Drum Head and Discard It
To remove the old drum head, place your fingers along its edges and push upward or to the side. The drum head should peel or pop off the outer edge of the drum shell. Go ahead and dispose of these worn-out heads before moving on to the next step.
3. Place the New Drum Head Onto the Drum
Remove your new drum head from its packaging and center it onto the outer edge of the drum shell. Take an extra minute to ensure that the head is evenly poised over these edges. If it’s off-center, it may tear when you secure the counter hoop.
4. Cover the Edges of the New Drum Head With Counter Hoop
When you’re confident that the new drum head is in the correct position, gently place the counter hoop onto the edges of the head. The counter hoop should also rest against the shell edge, trapping the head between itself and the shell.
5. Tighten the Tension Rods Along the Counter Hoop
After you’ve centered the drum head and the counter hoop, you can begin tightening the tension rods that hold the drum head in place.
To reduce strain on the new drum head, you’ll want to start by partially tightening the first tension rod, then locating the rod on the opposite side of the counter hoop doing the same. Continue working in this way (continually tightening the tension rod that’s opposite of the one you last worked on) until all rods are equally tensioned.
From this point, you can finish tightening each rod to its ideal setting without causing accidental damage to the drum head. Once you’re satisfied with the drum’s tone, you can place it on its stand or attach it to the drum set frame. Now you’re ready to play!
How To Store a Drum Set
After replacing old drum heads, you’ll likely want to do everything you can to ensure that the new heads last the longest possible amount of time. Fortunately, extending the lifespan of your drum heads is a straightforward affair.
Firstly, you’ll want to ensure that your drum set is located in a low-humidity room and that it’s not exposed to sunlight. It’s also an excellent idea to store your drum set when you’re done playing.
While this might not be a convenient option for drummers who play daily, those that only play occasionally will want to establish the habit of storing their drum set between sessions.
Storing an Acoustic Drum Set
Acoustic drum sets are made of several materials, including metal, wood, and plastic. As such, they require a little more care when being placed into storage. After all, metal can rust when exposed to moisture, and wood can rot or warp in humid conditions.
The first step to storing acoustic drums is removing them from their stands. Once you’ve done that, you can collapse the brackets and wrap each one in a layer of bubble wrap.
If possible, store each of your drums inside a drum bag. These protective accessories are sized to fit each drum type, from snares to bass drums. If you don’t already own a set of drum bags, consider investing in one.
The Gator Store Padded Drum Bag Set (available on Amazon.com) is an excellent option for traditional acoustic drum sets. Not only can these bags keep dust and debris away from your drums, but their internal padding also helps prevent damage from minor impacts.
Once your drums are protected, you’ll want to loosen the cymbals from their stands and place them into separate cymbal cases. After that, it’s simply a matter of collapsing or folding the drum set’s frame and tucking it away in a dry, elevated location.
Storing an Electronic Drum Set
Electronic drum sets come in a wide range of sizes, and some are far easier to store than others. The most affordable electronic drum sets tend to be the easiest to stow away, as they often feature collapsible bodies and a few electronic components.
However, larger and more expensive electronic drum sets can be as challenging to store as acoustic versions. That said, if you’re not playing your drum set every day or every week, storing your drum set is one of the best ways to maintain its components, including drum heads.
As with acoustic drum storage, you have two essential options for storage. Firstly, you could choose to invest in a water-resistant cloth that fits neatly over your drums and cymbals. This option is the simplest and fastest way to keep your drum set protected when not in use.
However, if you’re not planning on playing the drums every week, it’s far better to pack it away and place it in a dry, dark environment such as a closet or a humidity-controlled garage.
If you choose to take your electronic drum set apart from long-term storage, here’s how to do this:
- Unplug the central controller from its power source (an electrical outlet).
- Disconnect the drum heads from the controller and disconnect the controller from its stand.
- Remove the electronic drum heads (also called drum triggers) and wrap them in bubble wrap.
- Place them atop one another in a plastic storage bin. Do the same with the controller and the cymbal heads.
- Use your hand to guide any remaining wires into a neat coil. Use electrical tape to secure these coils.
- Place them into a storage bin. If you still have room for them in the container with the other components, go ahead and put them there.
- If your electronic drum set features a collapsible metal frame, you can fold it into a smaller shape and store it alongside the bin containing your drum set components.
Final Thoughts
The average drum head can last for up to six months. However, several factors can shorten this estimated lifespan. For example, drummers that play frequently will likely need to replace their drum’s heads every two to three months.
Other factors that impact a drum head’s lifespan include your preferred playing style, drumstick hardness and type, humidity and sunlight exposure, and the initial quality of the drum head.
Common signs of worn-out drum heads include indentations and poor sound quality. If you notice these signs, it’s likely time to change your drum heads.