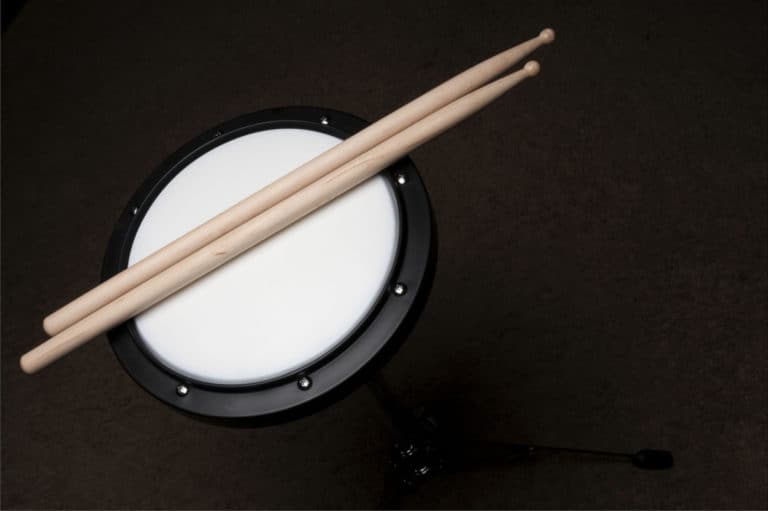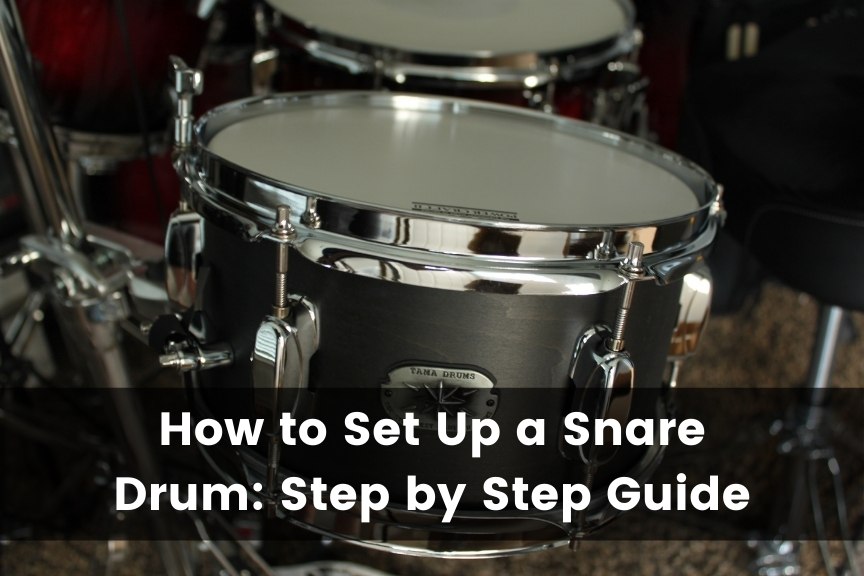
How to Set Up a Snare Drum (Step by Step Guide)
The snare drum is among the most critical pieces of every drum kit. Without a great-sounding snare, no drum sound is complete. However, while the snare drum is critical, it is also among the most difficult drums to set up and get sounding right. Many drummers struggle with this issue, so let’s clear up some of the mysteries surrounding snare drum set up.
The process of setting up a snare drum includes setting up the snare stand, installing the drum on the stand, positioning the snare, adjusting the height and angle of the snare, and tuning the drum to your liking. Setting up a snare is vital for getting the best from the drum.
Setting a snare drum correctly is vital for getting the best sound from the instrument. Without the right setup, a snare can sound empty, hollow, choked, or even boxy, and it will not be comfortable to play. An incorrect snare setup can even damage the drum. Learning how to properly set up a snare is crucial for every drummer.
How To Set Up A Snare Drum: Step By Step
Learning how to properly set up a snare drum well is a process that every drummer must undertake. Every drummer prefers their snare drum set up a little differently according to their own preferences, so take time to experiment and explore with your set up.
Without the proper setup, a snare drum will never sound as good as it should. Snare drums are finicky and challenging to set up, but once they have been placed well and tuned correctly, these drums can sound incredible.
The process can be challenging at times, but the rewards are worth it when you have a great-sounding snare drum that is comfortable to play and set up right.
Let’s learn the steps for setting up a snare drum well to provide the best starting point for you to discover the best snare set up and position for your preference.
Step 1: Set Up The Stand
The first step in setting up a snare drum is to set up the stand. Every snare drum requires some form of stand, and how the stand is set up is critical to how good the drum sounds, how stable the drum is, and how comfortable the drum is to play.
Most standard snare drum stands have two major components, or the stand is telescopic and folds down within itself. If the stand that you have is in two separate pieces, the first step is to assemble the stand. If the stand is telescopic, simply telescope the stand out and clamp it in place.
If your stand has two parts, the end that the snare clamps into are known as the cradle or the basket, and the other end is known as the legs or the feet of the stand. If these parts are separate, begin by sliding the cradle end into the legs end of the stand, and clamp the stand to about the halfway position to start with.
Once the stand is in one piece, pull out the stand legs to a wide position to ensure maximum stability, and lock them into place with the appropriate wing nut.
Next, unfold the snare cradle. The cradle is typically three or four arms that hold the stare drum onto the stand, and they are usually folded up when the drum is not on the stand.
Turn the wing nut or screw below the cradle to loosen the arms and fold them into an open position. Be sure to not open the arms all the way, as the bottom of the drum may press into the top of the stand when placing the drum onto it.
Be sure to leave the cradle arms closed enough that when the drum is placed onto the stand, the bottom of the drum does not touch any part of the stand. Once the stand is set up, it is time to place the drum onto the stand and place it into the kit.
Step 2: Install The Snare
Most snare drums are shipped already assembled, so if you have bought a new snare, there should be no problems there. If your snare drum is disassembled for whatever reason, be sure to assemble it correctly before beginning the snare drum set up.
After assembling the snare drum stand, carefully place the snare drum into the stand cradle. Most snare stand cradle arms have rubber tips to help grip the drum well, prevent unnecessary vibrations, and minimize damage to the drum itself.
Place the drum into these rubber grips carefully, and be sure that the bottom of the drum, known as the snare head or the batter head, is not touching any part of the stand at any place.
The batter head is very thin and delicate, and the snare wires on the bottom of the drum can be easily damaged as well. This is why the batter head and the snare wires should never come into contact with the stand. If these components touch the stand, the drum will also sound quite terrible.
Once the drum is resting in place in the cradle, righten the cradle arms with the appropriate wing nut. Be sure to not clamp the drum in too tightly as this may cause tuning stability issues, it may impair the sound of the drum, and it may even damage the snare over time.
The cradle should be closed just tightly enough to hold the snare in place without squeezing it too tightly. When the drum is on the stand, the next step is to position the snare with the rest of the kit.
Step 3: Position The Snare In The Kit
The position of the snare drum within the overall drum kit is important. The snare is usually the drum that is played the most, and it is the drum that must be the most accessible to the drummer.
This usually means that the snare drum should be positioned directly in front of the drummer or slightly to the left of the drummer. Either way, the snare drum must always be the closest drum to the drummer.
Be sure to position the snare drum in this way in relation to the rest of the kit for the most comfortable playing position.
The snare drum stand legs should be turned in such a way that they fit well within the other stand legs of the kit, without interfering with any other drum positions, while allowing the snare drum to fit well without touching any other drum in the kit.
No drum can be in contact with any other drum, or this will hinder the way the drum resonates and ultimately the way the drum sounds.
When positioning the snare, be sure that the throw-off, which is the lever mechanism that controls the tension of the snare wires, is facing the drum chair.
When the snare is in position with the rest of the kit, the next steps are to adjust the height and the angle of the snare drum according to your playing preferences.
Step 4: Adjust The Height Of The Snare Drum
The height that the snare drum is placed at is very important. This will determine how comfortable the drum is to play, how accessible the drum is, and how effectively certain techniques can be executed.
The correct height for a snare drum is relative to the drummer, the size of the drum, and the overall drum kit. Every drummer prefers a different height for their snare drum, but there are some basic principles that can be followed for finding the correct height for you.
The basic standard drum height should be level with the bottom of your elbows if you are sitting in your drum chair with your arms resting down. This height will offer the most comfortable playing position and the best accessibility for the snare drum.
Other height factors to consider are the height of the other drums in the kit and how deep the snare drum is. The top of the snare should be about level with the top of the floor tom to make playing between drums as easy as possible. If these drums are not relatively level with one another, adjust their heights until they are.
The other factor is the depth of the snare. Some snares are very deep; others are very shallow. Deep snare drums will have to be at a lower stand position for the top of the drum to be at its correct height, and shallow snares must be adjusted higher to fit correctly.
To adjust the height of the snare drum, simply loosen the wingnut that keeps the cradle end of the stand in place, raise the drum higher, or drop it lower until it rests comfortably at your desired height.
After finding the right height for you, the next step in the process of setting up a snare drum is to find the right angle for your playing style.
Step 5: Adjust The Snare Angle
Every snare drum stand is capable of changing the angle at which the snare drum rests. Adjusting the angle of the snare increases or decreases the accessibility of the drum, alters the way some techniques are played and can change how comfortable the drum is to play.
Finding the right angle for your preferences is important for making your snare drum as easy and comfortable to play for you as possible. Take your time with this step and experiment with various angles until you find what works best for you and your playing style.
Before adjusting the angle of the drum, be sure that the throw-off is facing you and that the snare is placed in the cradle in a position that allows the drum to tilt forwards and backward while the throw-off is directly facing you.
If the snare is not in this position, take the time to remove the snare and replace it in this orientation. The snare should be positioned so that the angle can be adjusted forwards and backward without moving the throw-off out of your reach and without coming into contact with any of the other drums in the kit.
If the snare touches another drum while you are adjusting it, simply move the snare out, and place it back after you have adjusted the angle.
To adjust the angle of the snare, loosen the angle adjustment wingnut located under the snare cradle on the main shaft of the stand. This mechanism is different on every type and brand of stand, so find the mechanism on your stand and get ready to adjust it.
Begin by loosening the mechanism to allow the snare to tilt freely. Find a position that feels comfortable and tighten the mechanism until the drum stays in place.
Play the drum to get a feel for the angle, and repeat the adjustment process until you find the optimum position for your playing style. This may take some time and several attempts to get just right, but the tie and effort are well worth the rewards.
Once the angle is set to what you find to be the best, replace the snare back into the correct position in the kit. Make sure that it is comfortable, and the only step left in the set up process is tuning the snare drum.
Step 6: Tune The Snare
The final step in the snare set up process is tuning the snare drum. This process can be challenging and time-consuming, but it is the most important process for every drum set up.
To tune the snare, engage the snare wires with the throw-off, and have your drum key ready. Begin by tightening the batter head of the snare until the tension feels even all the way around the drum.
Play the drum and listen to its tone. Adjust the tuning of the snare until it sounds the way that you want it to. Loosening the tuning lugs will make the drum sound deeper, and tightening them will make the drum sound deeper.
Tune the snare until you achieve an even tone everywhere on the batter head and until that tone suits your sound preferences everywhere on the batter head.
The final step in tuning a snare is to set the snare wire tension. Every throw-off mechanism has tensioning screw that adjusts the tension of the snares. Take the time to tighten and loosen the snares until you find the snare tone that you prefer.
Once your snare is tuned, the drum is ready to be played!
Conclusion
Setting up a snare drum can be challenging and confusing, but when you take the time to set up a snare well, it sounds and feels much better than just putting the drum on the stand and playing it.
Take the time to experiment with the set up of your snare drum to find the best position and set up for your playing style and your preferences, and you will always feel comfortable playing your snare. Being comfortable is the key to playing well, and going through the set up process is the only way to get there.